Start using Revolut Business
Employee set-up guide
Follow our step-by-step instructions to create your new account and start taking your finances further.
Welcome to Revolut Business
Here’s what you’ll need to set up your account:
- Your mobile device — download the Revolut Business app and add your card to your device’s digital wallet
- A valid ID — we may ask you to verify your identity before you start making card transactions. Learn more about verification
If you have any questions about navigating the platform, our Help Centre has the answers.

Getting started
1. Accept your invite
Check your inbox for an email from Revolut Business. Using our mobile or web app, select Accept invitation to join, then follow the instructions to set up your account. If you can’t find the email, try going to our sign-up page and selecting I’ve been invited to join a company.

Using your card
Physical or virtual — what’s the difference?
| Physical cards | You can use physical cards for online and in-person purchases, as well as ATM withdrawals. You'll find the cardholder's name and card details printed on the back. | |
| Virtual cards | Virtual cards are digital-only and have separate card details to your physical card. You can use them for online purchases, or add them to Apple Pay and Google Pay to make contactless in-person payments. |
If your card is physical
You'll need to claim your card in-app to have it delivered to you:
- Claim your card from Home
- Pick your card design
- Add your delivery address
- Order your card, and we’ll take care of the rest
While you wait for your card to be delivered, you can start using it immediately by adding it to Google Pay or Apple Pay.

If your card is virtual
Virtual cards are ready to use right away. To find yours in the app:
- Go to Cards
- Select your new card from the list
You can make payments online with your virtual card details, or add the card to Google Pay or Apple Pay to spend in-person.

Find your card details
All your card information is stored safely in the Revolut Business app. Here’s how to find it.
| View your card details |
You can only view card details if you’re the cardholder. | |
| View your card’s PIN and billing address |
Remember, only physical cards have a PIN — virtual cards don’t. |
View your spend controls
Your card may come with built-in spend controls — like one-time or recurring spending limits, blocked merchant categories, or blocked countries.
Here’s how to view them in-app:
- Go to Cards
- Choose your card
- View any spending limits your card may have, along with the remaining balance and when the limit resets
- Select Settings to see other spend controls

Request a new card or limit increase
If you need a new card (e.g. for a new expense or vendor), or need to increase your card’s limit, follow the steps below to submit your request in-app.
Depending on your company’s account settings, you might not be able to request a card or limit increase. If that’s the case, you’ll be prompted to contact your admin.

| To request a new card: |
| |
| To request a limit increase: |
|
Submitting expenses
Expenses for card transactions
If your company uses Expenses, you may have to submit receipts for your card transactions. Here’s how:
- You’ll get a push notification seconds after you make a payment, reminding you to submit the expense
- Enter the details and add a picture of the receipt
- Submit the expense, and it’ll be sent to the approvers
It's that simple. You won’t be notified when your expense is approved, only if more information’s needed.
Make sure you submit your expenses as soon as possible, as your cards may be frozen if you don’t submit them within the time frame your company’s set (if applicable).

Receipt matching
Our AI receipt matching tool can automatically match a picture you take of your receipt to the right transaction with up to 98% accuracy. There are 2 ways to use receipt matching:
| Add a receipt directly in-app |
We’ll take care of the rest — your receipt will be automatically scanned and matched to the right transaction. You can also upload multiple receipts at once to save even more time. | |
| Forward a digital receipt from your email |
|
Submitting reimbursements
Sometimes, you may have to pay for a business expense out-of-pocket. You can record reimbursement requests (including expenses made using cash, personal cards, or cards from other bank accounts) and track them using Expenses.
To add an out-of-pocket expense:
- Go to Expenses → New
- Select Request reimbursement
- Enter the amount, merchant, and payment date
- Depending on your company’s settings, you may have to add a receipt, expense category, description, and labels

Basics for managers
Managing approvals
Depending on your company’s setup, you may be able to approve team requests. These include new card requests, limit increases, transfers, expenses, and reimbursements.
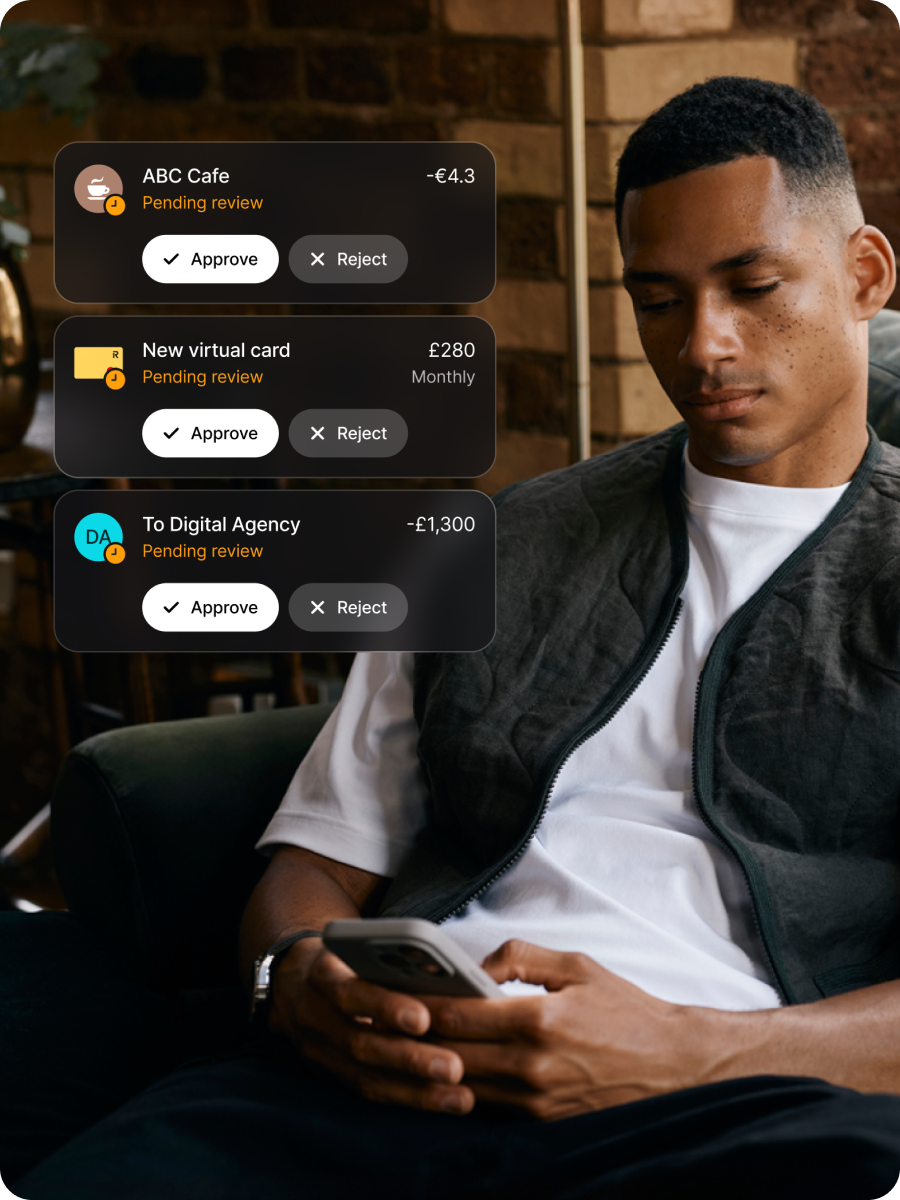
You’ll receive an email and push notification when an employee submits a request. After logging in, you’ll see any requests that require your review in Approvals.
Select a request for more information, then choose one of the following:
- Approve — this will send the request to the next approver (if applicable), or issue final approval
- Reject — if the request is out of policy, you can reject it and leave a comment explaining why
You’ll be reminded every week of any pending requests.