Getting started
Admin set-up guide
Follow our step-by-step guide to set up your account and get to business. T&Cs apply.
Welcome to Revolut Business
Here’s what you’ll need to set up your account:
- Your mobile device — download the Revolut Business app and add your card to your device’s digital wallet
- A valid ID — we may ask you to verify your identity before you start making card transactions. Learn more about verification
If you have questions while navigating the platform, our Help Centre has the answers.

Contents
1. Getting started
Add money to your account
You can add money to your Revolut Business account via bank transfer.
If you want to add money via transfers from clients or customers, you'll need to share your account details. Here’s how to find them in the app:
- Select your account balance on the Home screen
- Choose the currency account you want the payment to go
- Select Details
When available, use local account details for faster and more cost-effective transfers.
You can also find your details on your account confirmation statement.

Invite other Admins
If you have other managers in your company — such as a business partner, CFO, or finance manager — invite them to your account as an Admin.
They can help set up your Revolut Business account, before you invite the rest of your team.
- Go to Team → Invite
- Add the email addresses of the Admins you want to invite
- Assign them the Admin role
At this stage, you can also assign cards with spend controls to each Admin, but that can be completed later.

2. Spend controls
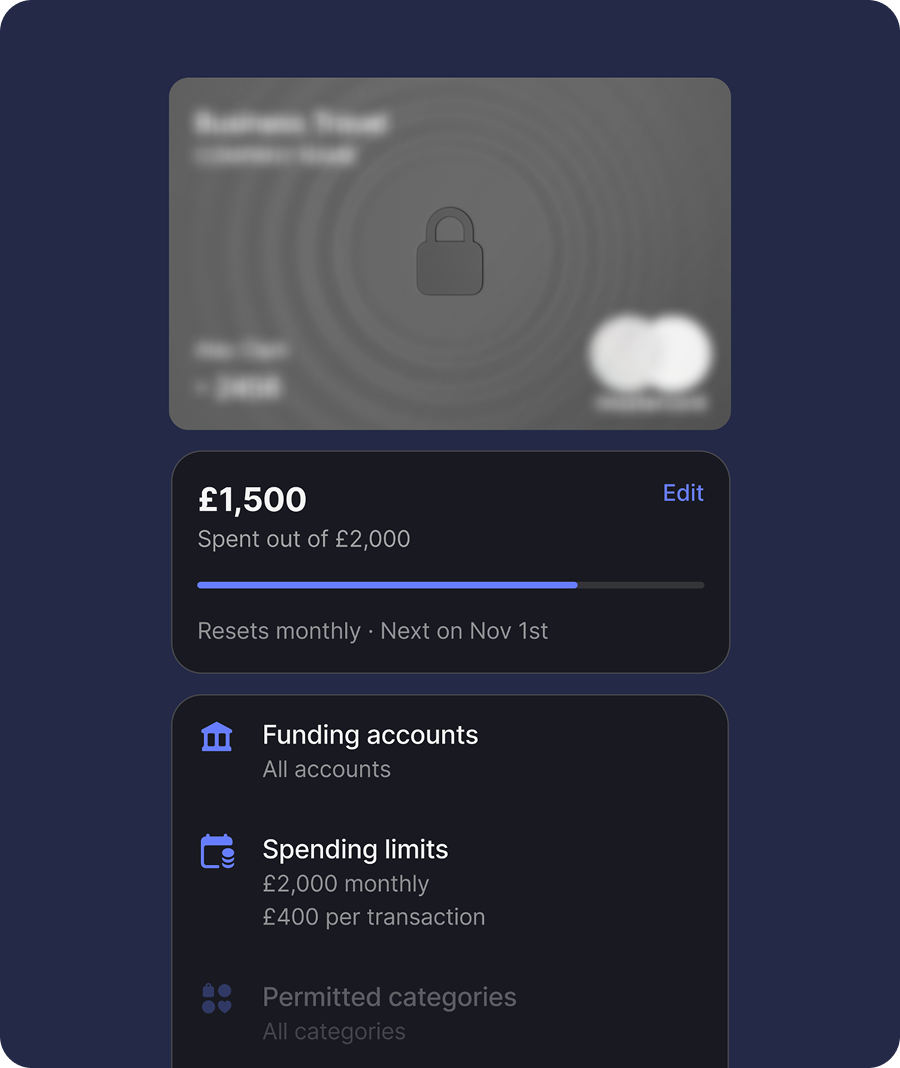
Set up spend controls
Set up card spend programs and approval processes before inviting your team to Revolut Business, so the cards you issue to your team have built-in spend controls.
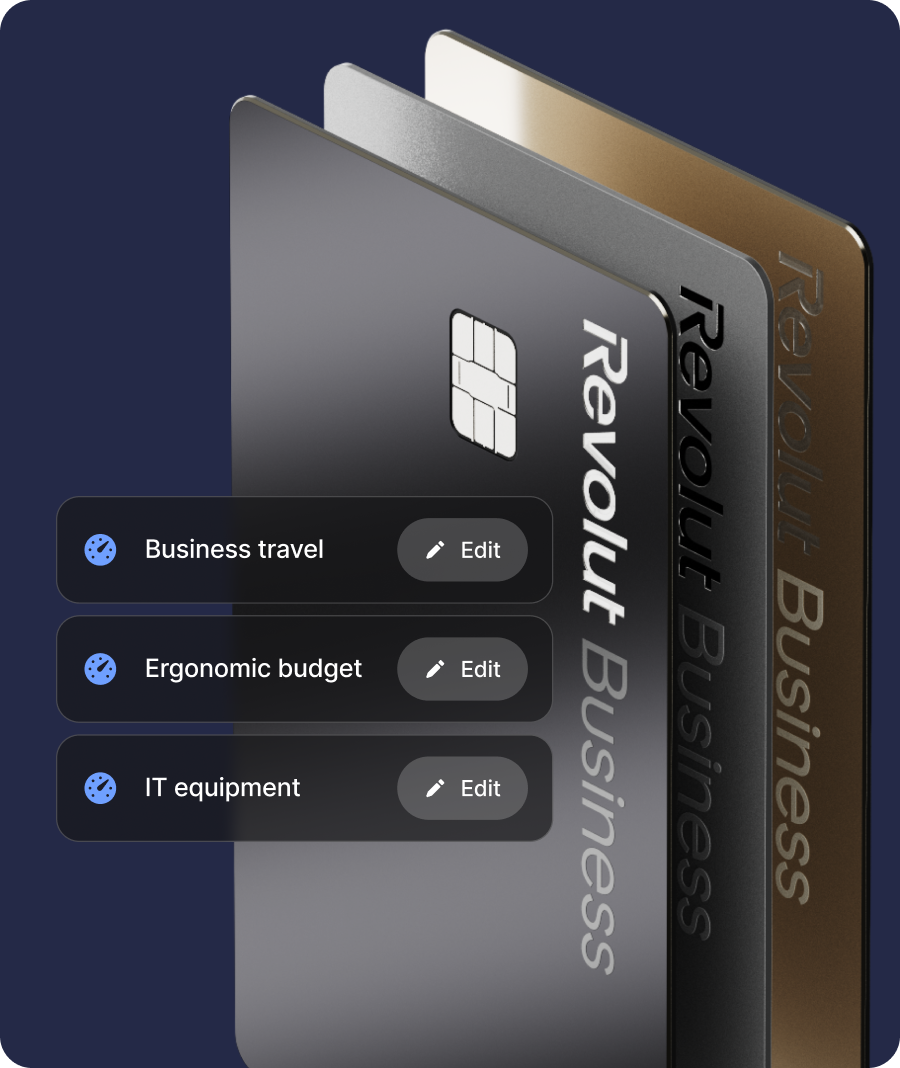
Spend programs
Spend programs let you apply spending limits with expense submission and approval rules to cards at scale. They make it easy to manage travel expenses, daily stipends, and other company initiatives or expenses.
Here's how to set them up:
- Go to Cards → Settings → Spend programs
- Select +New and create a spend program
- Add expense approval rules for card purchases and out-of-pocket reimbursements

3. Set up accounting
Set up accounting for expenses
Expenses lets you capture receipts, reconcile and categorise business expenses, and reimburse team members, all in one place. Team members can raise reimbursement requests, or submit expenses for transactions made on their Revolut Business cards. Expenses is available on all plans at an extra cost.
Sync your accounting software
Revolut Business can sync with some of the most popular accounting software. We currently support 3 types of syncing:
- Bank feed — all completed transactions are sent from your Revolut Business account to your accounting software
- Bills — import draft bills from your accounting software, and export paid bills from your Revolut Business account to your accounting software
- Expenses — expenses are automatically exported to your accounting software with receipts, categories, and descriptions attached. This makes for easy reconciliation against bank transactions


Categories and tax rates
You can list your company's expense categories and tax rates for team members to choose from when submitting an expense.
This list will be automatically synced and displayed if you already connected your accounting software.
If you haven’t connected your accounting software, go to Expenses → Settings → Accounting to edit the list of options available to team members when submitting expenses.

Define label groups
Revolut Business helps you organise and include more details on your company expenses with label groups.
Create up to 5 label groups, with as many labels as you need in each group.
To customise them, go to Expenses → Settings → Labels.

4. Post-spend controls
Create post-spend controls for expenses
Customise submission and approval settings for expenses and reimbursements, and set up auto-freeze rules for cards.
Customise expense settings
You can specify what info team members need to include in their expense submissions. By default, team members need to provide a receipt, category, and description for every expense, but you can also set additional required fields.
If submitting expenses (or certain information in an expense) is optional, go to Expenses → Settings to set the required fields (receipt, description, category, tax rate, labels).

Create card auto-freeze rules
Once you've issued cards to your team, you can set up card auto-freeze rules to encourage them to submit their expenses on time.
Auto-freeze puts a time limit on expense submissions — you choose how many days (7, 14, or 30) cardholders have to submit expenses after a purchase is made. If the expense is overdue, the card is frozen and all payments will be declined until they submit their overdue expenses.
Expense approval processes
You can create approval processes to make sure the right people approve expenses and reimbursements. Here’s how:
- Go to Team → Settings → Approval processes
- Create rules for approvals based on position (e.g. managers approving for their direct reports), specific team members, or roles

| Approvals for card expenses | Once the approval process is created, you can make it part of a spend program. You can also assign the process to a specific card, but only if the card doesn't already have an assigned spend program. | |
| Approvals for reimbursements | You can also assign the new approval process to General reimbursements (reimbursements requested without a spend program) to replace the default approval process. Alternatively, you can add it an existing spend program that's already assigned to reimbursements. |
5. Inviting your team
Add team members
You can invite unlimited team members to Revolut Business. Here's how:
| Send email invitations | If you’re inviting less than 15 employees, this is a quick and easy option:
| |
| Use HR software integrations | If you’re inviting more than 15 employees, we recommend connecting your HR software to your Business account. Once connected, simply select the employees you'd like to invite to Revolut Business. You can also choose to automatically invite new joiners. If your HR software isn't supported, you can invite team members manually through bulk email invitations. |
Assign account roles
You can manage team members’ access to your Revolut Business account using customisable roles.
Roles determine what team members can see and do on your account. Our built-in roles include:
- Owner — the Revolut Business account owner , who has full access. There can only be one Owner per account
- Admin — has full access to all features
- Accountant — can perform financial operations
- Member — restricted to their own personal cards and information
- Viewer — has read-only access to all features and apps
You can also create roles with custom permissions in Team → Settings → Roles → New.

Set up your organisation structure
You can define your company’s organisation structure on Revolut Business, including reporting lines and departments.
This helps you keep track of your employees and ensures approval requests go to the right people. We recommend connecting your HR software to automate this.
| If you’ve connected your HR software | Revolut Business will automatically:
| |
| If you haven’t connected your HR software |
|
6. Issuing cards
Physical vs virtual cards
You can issue up to 3 physical and 200 virtual cards to each team member.
- Physical cards will be posted to your team. They can use these for ATM withdrawals as well as online and in-person purchases
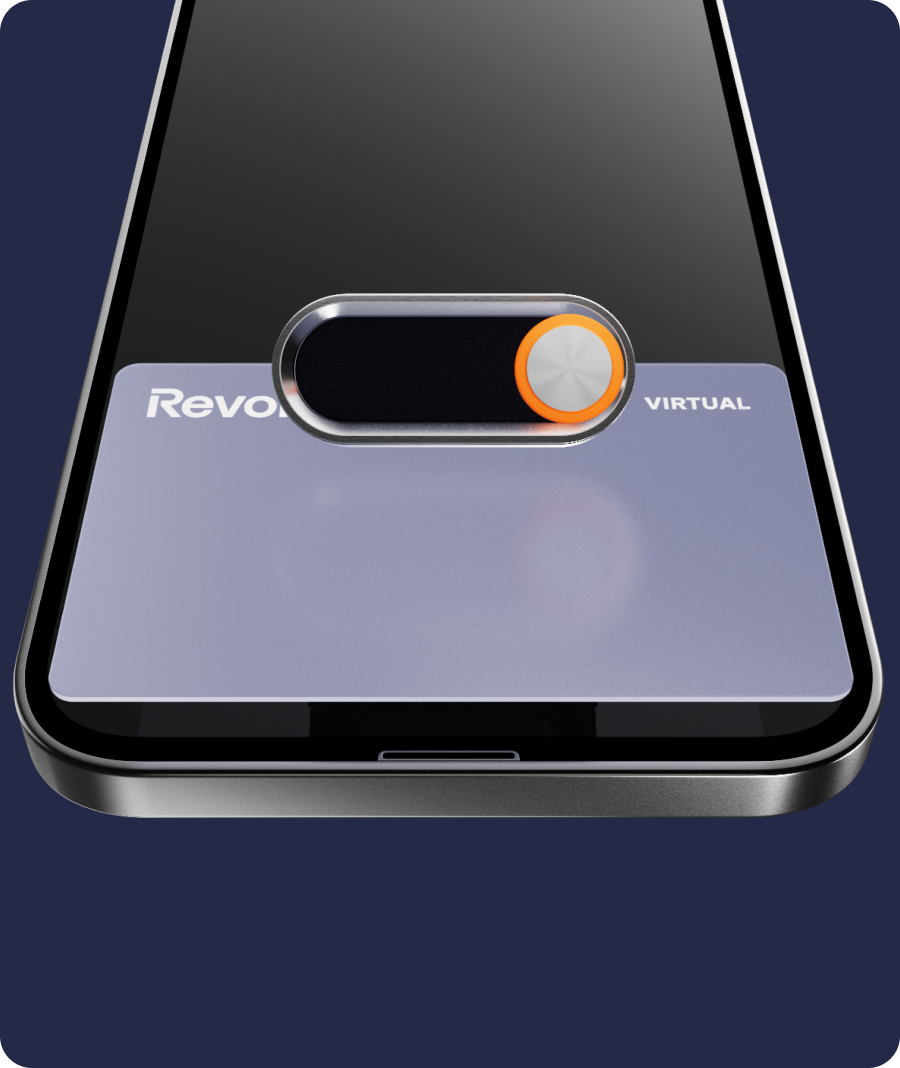
- Virtual cards are digital-only, issued instantly, and have separate details to physical cards. Your team can use them for online purchases, or add them to Apple Pay and Google Pay for contactless in-person payments
See card allowances and additional fees on our pricing page.

Send cards to your team
- Go to Cards → Order card
- Select a virtual or physical card
- Select who you want to issue cards to
- Apply controls and add a card name for easy identification
- The cardholder will receive an email with instructions on getting started with their new card
Team members can only issue cards if they have the ‘manage cards’ permission in their assigned role.


7. Closing your books
Export expenses
After completing the steps above, your team should be ready to spend. Now it’s time to close the month by exporting submitted and approved expenses to your accounting software.
| If you’ve connected your accounting software | Your expenses will be sent to your accounting software automatically if you have expense syncing enabled. To include a manual check, head to Expenses settings → turn off Skip export preparation. | |
| If you haven’t connected your accounting software | You can also manually export expenses and receipts (including all attached information), then import them to your accounting software. Here’s how:
If you're not sure which file type you'd like to export the expenses as, you can review what's included in a typical Expenses CSV export. |
Don't have a Revolut Business account yet?
Feature availability varies by plan.